 Injuries happen, and when they do, comfort and support are critical parts of your recovery. For shoulder injuries, a sling can make a huge difference to how quickly and comfortably your body is able to heal.
If you don’t have a sling, learning how to make a shoulder sling can be a good substitute in a pinch. In this article, we’ll show you the steps to crafting a DIY shoulder sling if you’re in a pinch. But is a DIY arm sling for shoulder injuries really the best solution?
Learning how to make a shoulder sling can be helpful for emergency situations, or if you just need a quick, temporary fix, but they’re not as good as the real deal. A proper, orthopedic device like the Donjoy Shoulder Sling (which you can find here at Ortho Bracing!) is a much safer, more effective option.
Keep reading to learn how to make a shoulder sling, but also to understand when it’s better to invest in the real deal instead for safer, faster recovery.
The Role of a Shoulder Sling in Your Recovery Process
What does a shoulder brace do, exactly, and how can a DIY shoulder sling help you recover from an injury? The main role of a shoulder sling is to immobilize and support the injured shoulder, allowing it to rest and heal properly.
By keeping your arm in a neutral position close to the body, a shoulder sling helps reduce strain on the injured area, minimizing pain and discomfort. It also provides stability and protection, preventing sudden movements or accidental impacts that could exacerbate your injury or delay healing.
Wearing a shoulder sling also helps with posture, which is essential for preventing secondary complications like muscle stiffness or joint misalignment. By supporting the weight of your arm and keeping it in the correct alignment, a sling encourages optimal healing and prevents stress on surrounding muscles.
Most importantly, a shoulder sling allows you to move safely as you recover. You may feel like it’s restricting your movement, but it’s just limiting the movement of your injured shoulder - it still enables you to perform your daily activities with your unaffected arm. It helps you get by, even with an injured shoulder!
How to Make a Shoulder Sling DIY: Step-by-Step Guide
Wondering how to make a sling for shoulder injury? There are a few different methods - we’ll explore each of them so that you can choose the best option for you, based on the materials you have available. Here’s how to make a shoulder sling DIY.
What Can I Make a Sling Out of?
The good news is that you can make a shoulder sling out of just about anything you have lying around. You can use pillowcases, scarves, shirts, and often other fabric-based items if necessary.
The Pillowcase Method
A pillowcase DIY arm sling for shoulder injuries is a great choice if you have a soft pillowcase lying around that you no longer need. Just make sure it’s large enough to fit your arm comfortably. Here’s how to make a shoulder sling from a pillowcase:
- Lay the pillowcase flat and fold it diagonally to create a triangle shape.
- Place your injured arm across the longest side of the triangle, positioning the point of the triangle behind your elbow.
- Bring the two shorter ends of the pillowcase around your neck and tie them securely, creating a sling that supports your arm at a comfortable angle.
You may find that the sling becomes looser or starts to untie as you wear it, especially if your pillowcase is made of a slippery, silky material. Keep adjusting it as necessary - it’s just one of the downsides of using a pillowcase for a sling.
The Scarf Method
Scarves are another good option for a DIY shoulder sling. If possible, it’s better to use a thin scarf, but preferably not one that’s made of silky, slippery material, as you may have difficulty keeping it in place. If you have a suitable scarf, here’s how to make a sling for shoulder injury:
- Fold the scarf in half lengthwise to create a long strip.
- Place the center of the scarf under your injured arm, with the ends draped over your opposite shoulder.
- Cross the ends of the scarf behind your neck and bring them forward, tying them securely over your uninjured shoulder to create a snug and supportive sling.
Like the pillowcase method, your scarf sling may slip and slide, but it’s still better than nothing, especially if you just need something to tide you over in an emergency.
The Shirt Method
There are a few different ways to make a DIY shoulder sling from a shirt, but this is probably the most effective. It’s best to use a long-sleeved shirt, but you will be cutting off one of the sleeves - you’ve been warned!
- Select a long-sleeved shirt and cut off the sleeve, leaving enough fabric to support your arm comfortably.
- Slide your injured arm through the sleeve opening, positioning the cut end of the sleeve under your elbow.
- Bring the excess fabric around your neck and tie it securely over your opposite shoulder, adjusting the tension as needed to create a secure and supportive sling.
Because your injured arm actually goes through the sleeve, this sling offers quite a lot of support, but it’s not always the most comfortable - the tie at the back can be quite bulky and push against your neck, especially if you’re sitting in a car or on the couch.
Tips on Securing the Sling
You might have noticed with each of the above DIY shoulder sling methods that the biggest challenge is securing the sling - it often starts to become loose and needs adjusting, especially if you’re using a slippery material. Here are some extra tips for securing your sling:
- Try different materials to find the option that offers the best combination of comfort and support.
- Consider using a safety pin or other fastener for extra security.
- Ensure that the sling supports your arm comfortably without putting undue pressure on your neck or shoulder.
- Check regularly for proper circulation and adjust the tightness of the sling as needed.
It will likely take some trial and error, but hopefully you can learn how to make a sling for shoulder injury that gets the job done in a pinch.
Is the DIY Shoulder Sling a Good Idea?
We’ve explained how to make a shoulder sling at home, but is a DIY arm sling for shoulder injuries really a good idea? Look, it’s a practical solution if you’re desperate, and it’s better than nothing, but it’s really no substitute for the real deal. Let’s take a look at the pros and cons of a DIY shoulder sling.
Benefits of Making a Shoulder Sling DIY
The biggest benefit of making a DIY shoulder sling is that you have it right away. If you’re in an emergency situation and you don’t have a proper sling with you, a quick DIY arm sling for shoulders can help immobilize your shoulder while you get your hands on a proper solution.
Of course, making your own shoulder sling is also a cost-effective option - it’s usually free as you’re making it out of a shirt, pillowcase, or scarf that you already have. You’ll save money, but is it really worth it? Let’s take a look at where a DIY shoulder sling falls short.
Challenges and Shortcomings to Consider
The main issue with a DIY arm sling for shoulder injuries is that it doesn’t provide the same level of support and stability as a professional sling with proper fitting. This means, if you use your homemade shoulder sling long-term, you may slow down your healing process or further damage your shoulder.
Achieving the perfect fit and balance between support, stability, and comfort with a DIY sling is really challenging - experts spend years perfecting this with professional slings, so it’s just not something you can do overnight!
Also, homemade slings usually aren’t durable - they will get you by temporarily, but it just isn’t a long-term solution in the way that a professionally designed sling is. Plus, improperly designed or secured slings could actually make your injury worse, which is definitely not something you want.
For Emergency Use Only!
The take-home message? Learning how to make a shoulder sling is important, because you may find yourself in an emergency situation where you have no other options. But that’s exactly how you should think of DIY slings - as an emergency fix only.
If you’re hiking, traveling, or away from home and you hurt your shoulder, a DIY sling is a great way to start off your recovery the right way. But it’s no substitute for the real deal - it just doesn’t provide the same security or support.
By all means, get started with a DIY sling, but for long-term support during your healing journey, a professional sling is the only real option for safe, comfortable, fast recovery.
Avoid the Hassle and Ensure a Smooth, Comfortable Recovery With Our Solutions at Ortho Bracing!
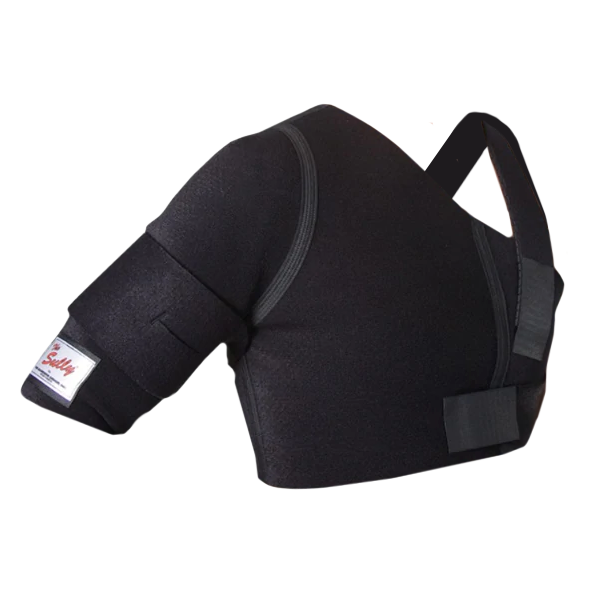
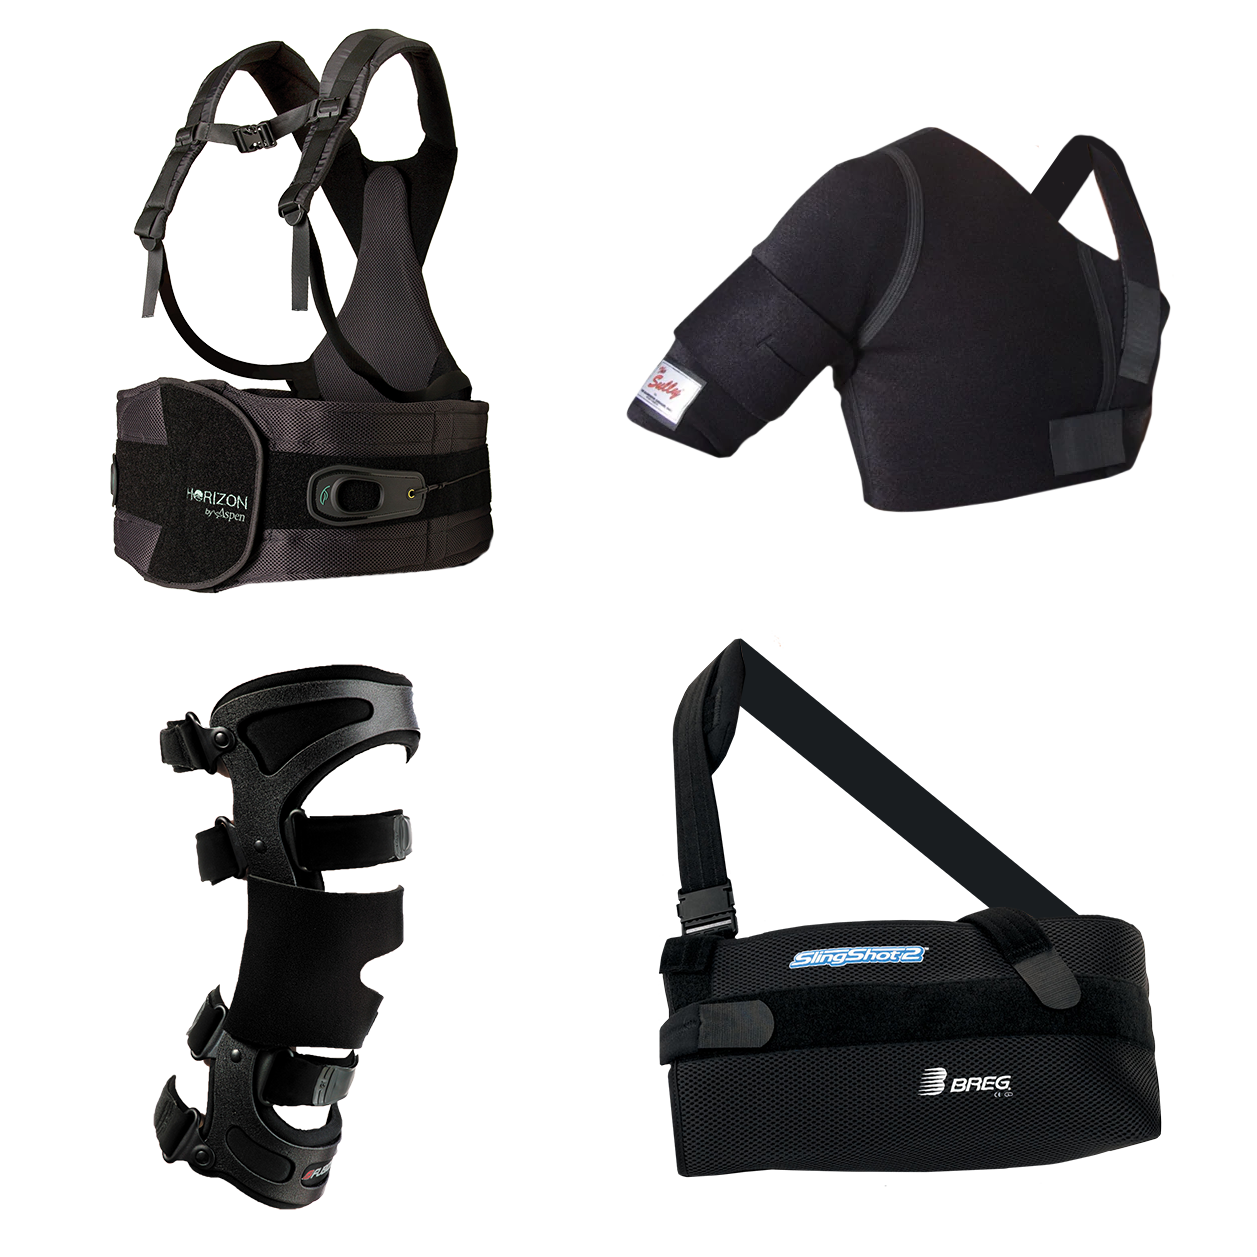
There’s no DIY option that even comes close to the best shoulder brace or the Donjoy shoulder sling that you can get right here at Ortho Bracing! We have the best selection of supportive braces and slings, including the Donjoy Sully Shoulder Brace and an incredible range of shoulder compression sleeves.
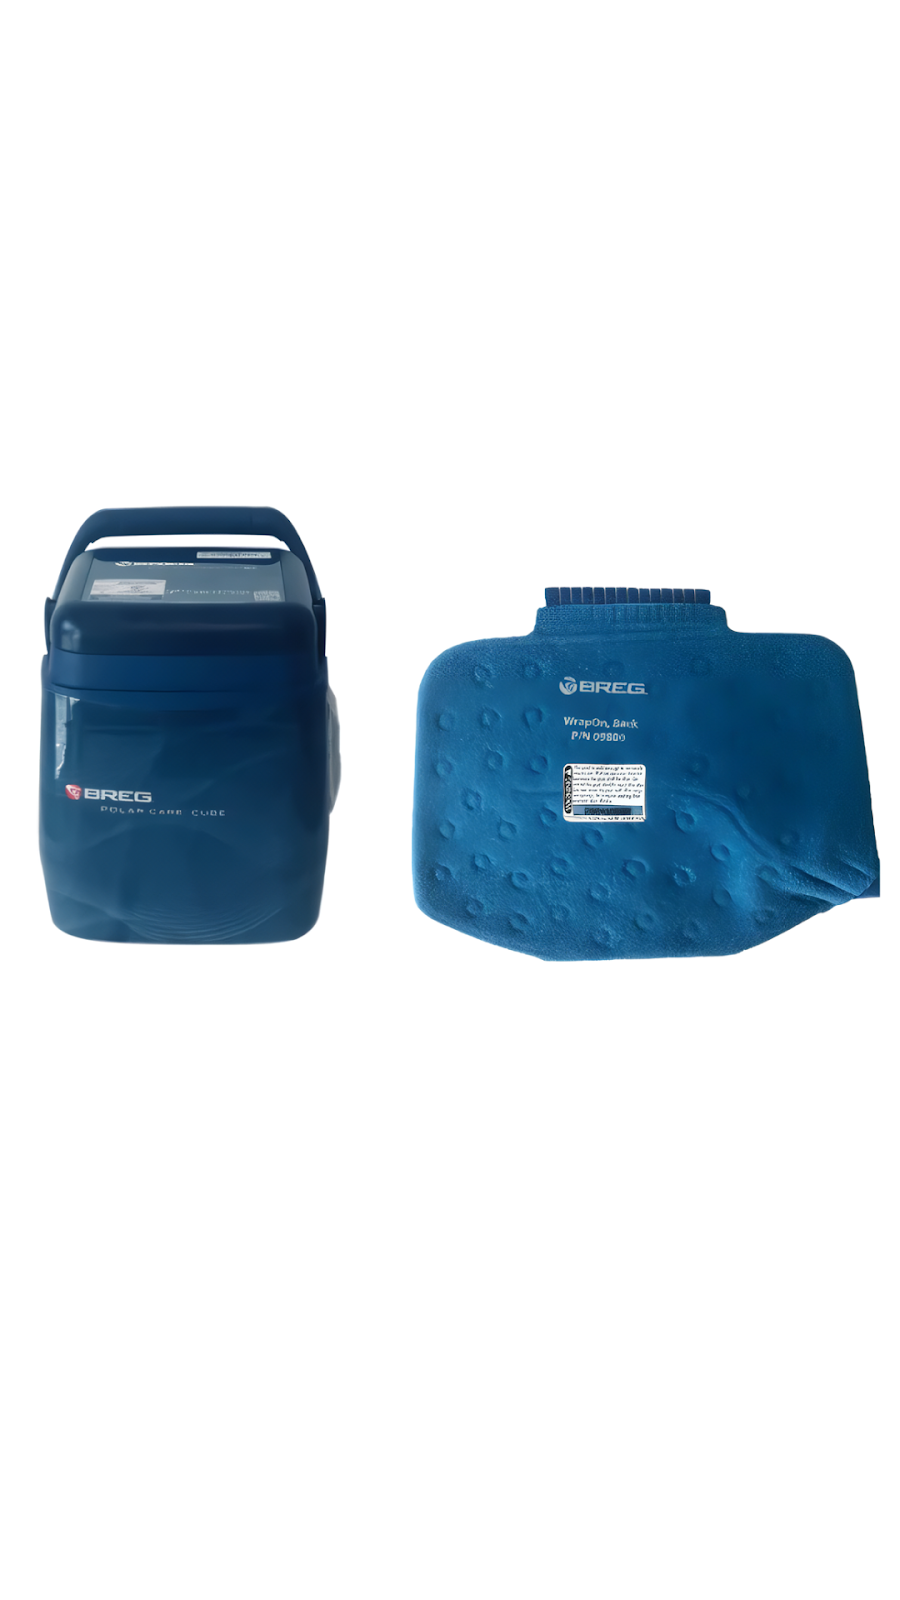
As well as the best shoulder brace, we have all the other orthopedic supplies you need for safe and effective healing, including ice machines for shoulder surgery recovery like the top-rated Donjoy Ice Machine and premium Aircast Shoulder Cryo Cuff.
Bringing Our DIY Shoulder Sling Guide to a Close
So, now you know how to make a shoulder sling yourself, from either a scarf, pillowcase, or shirt. Remember, a DIY sling should only be used as a last resort or an immediate solution before you can get your hands on a proper sling - one with real orthopedic benefits.
At Ortho Bracing, we have an incredible selection of quality orthopedic equipment and devices to aid in your healing journey. To stay comfortable, ensure your shoulder heals up properly, and get back to your best as quickly as possible, shop our selection of premium orthopedic products today!

