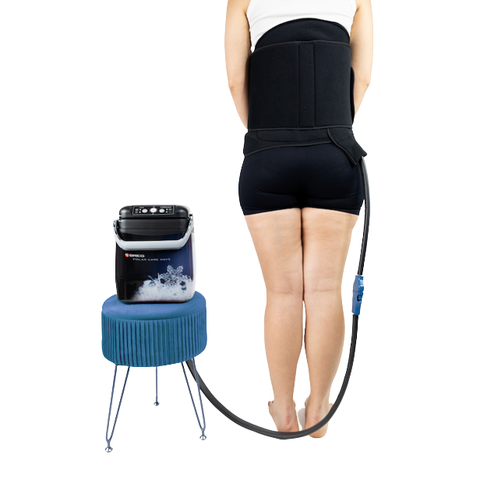
Recovering from surgery or injury is a painful process, but studies have shown that motorized cold and compression therapy can be an effective method for non-narcotic pain management. In this video, we'll show you how to use the polar care wave a product intended to manage pain and alleviate swelling and inflammation from the comfort of your own home or healthcare setting. Be sure to use the polar care wave system as prescribed by a licensed healthcare professional, including device settings, how often and how long to apply cold and compression therapy. Your healthcare professional will also prescribe how often to take breaks from cold and compression therapy. A word of caution polar care systems can be cold enough to cause serious injury, including full skin necrosis. Be sure to follow these instructions carefully. Certain medical conditions make cold induced and compression injury.
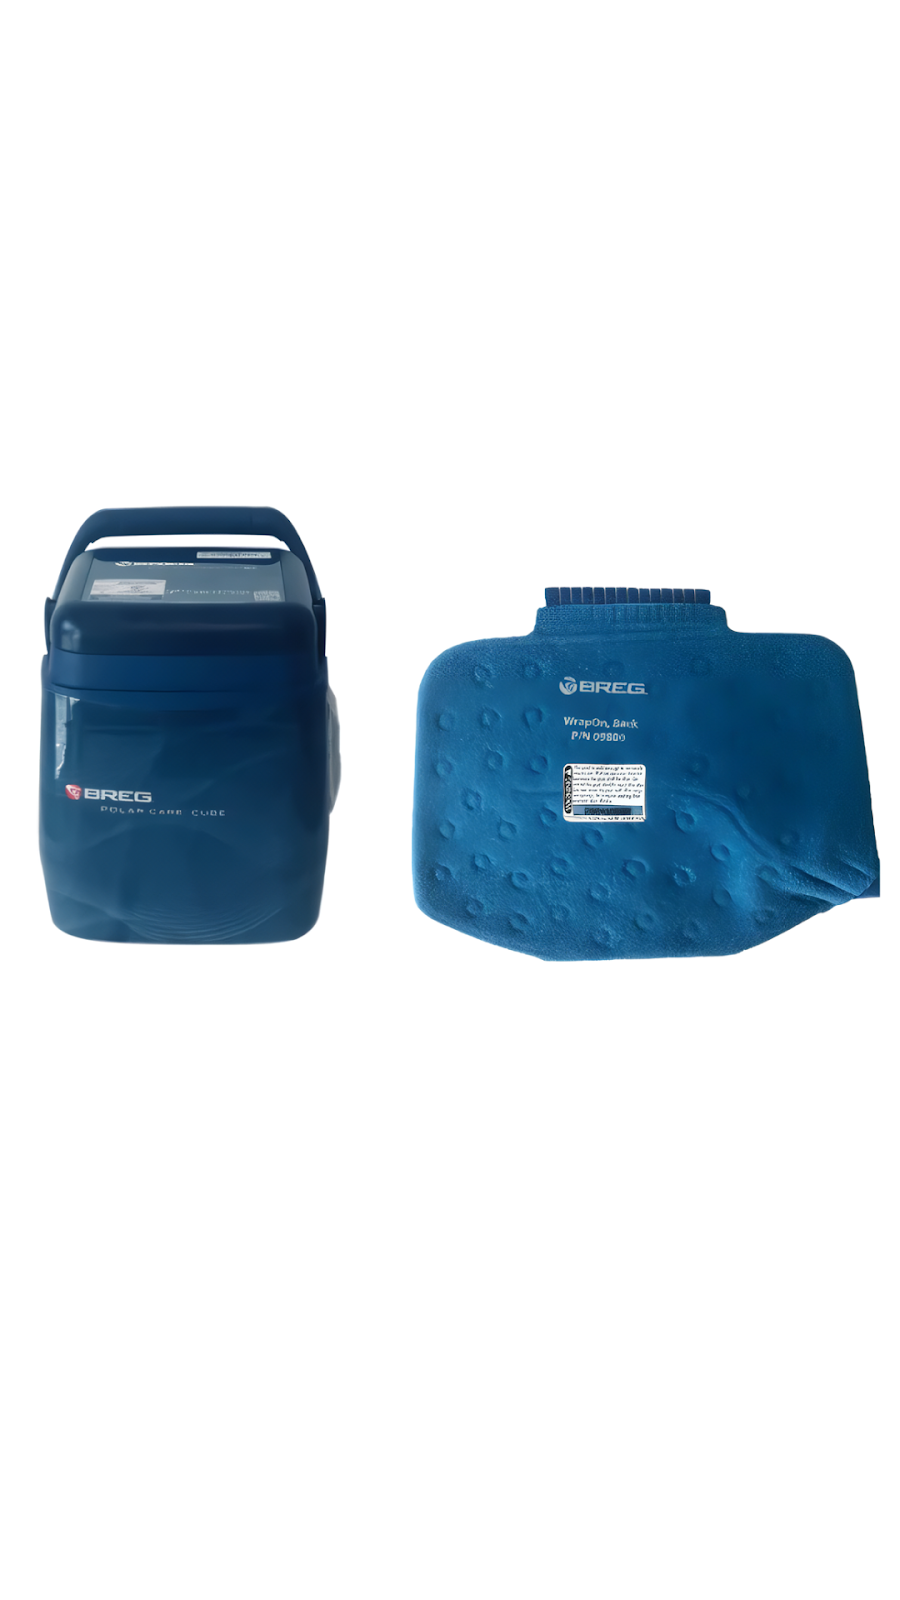
More likely the polar care wave is intended to treat post surgical and acute injuries to reduce edema, swelling, and pain where cold and compression are indicated. The unit consists of three main parts, the container, the pad, and the power supply unlock the handle by rotating it to the front of the container, remove the lid and fill the container with water. First, then cubed ice water and ice fill lines are located inside the cooler place. The lid on top of the wave container, using the aligned stickers with the handle in the unlocked position. Once the lid is in place, rotate the handle into the locked position to use the wave product with BR ice bags instead of cube dice, fill four BR ice bags with water to the fill line and freeze them in your freezer. Unlock the handle by rotating the handle to the front of the container, remove the lid and fill the container with water to the water fill line. Then put the four BR ice bags into the corners of the container. While using the BR ice bags, cubed ice may be added to the container up to the ice fill line to optimize the colder setting with the handle in the unlocked position. Place the lid on top of the wave container. Using the aligned stickers. Once the lid is in place, rotate the handle into the locked position,
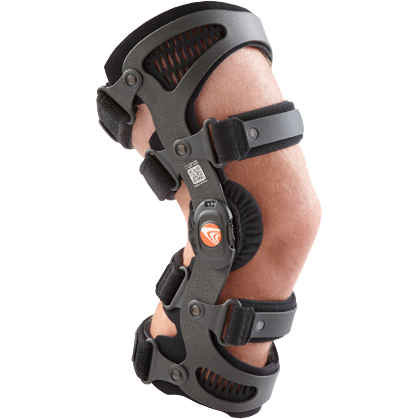
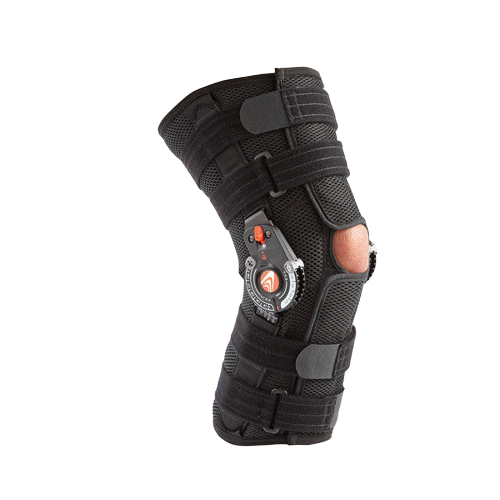
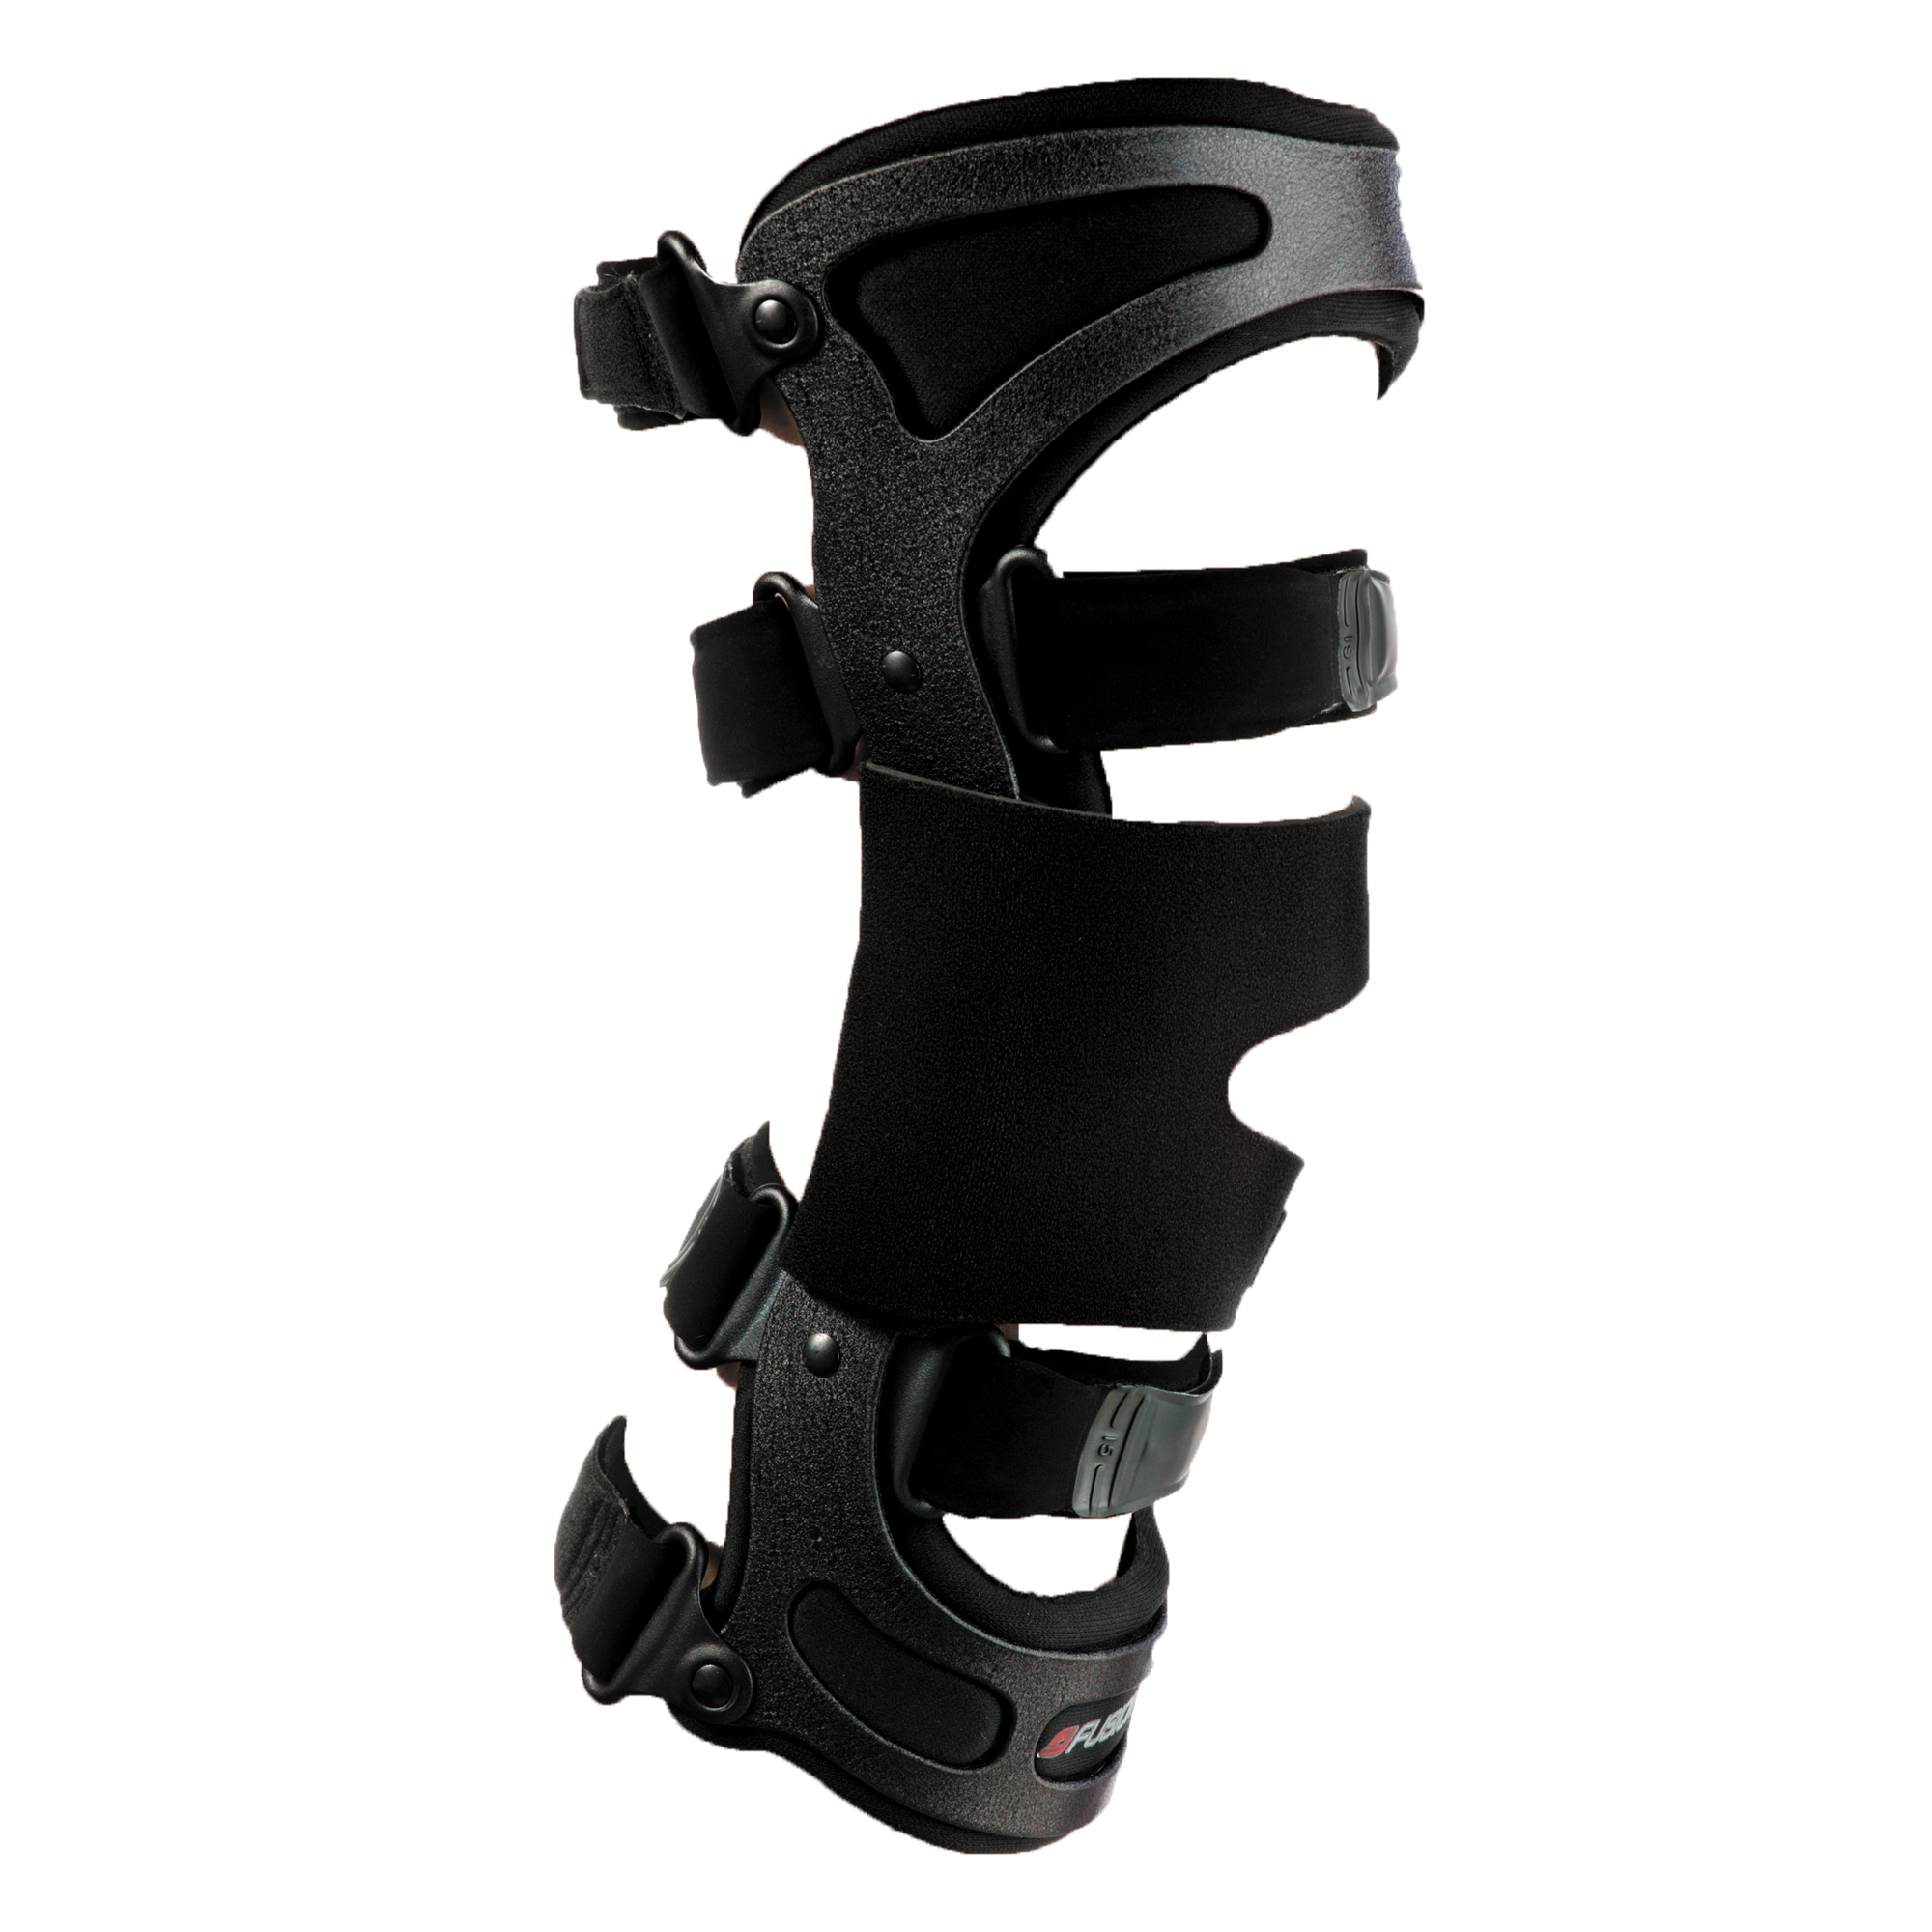
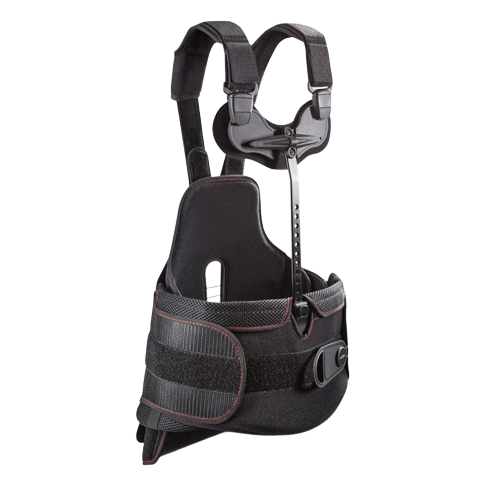
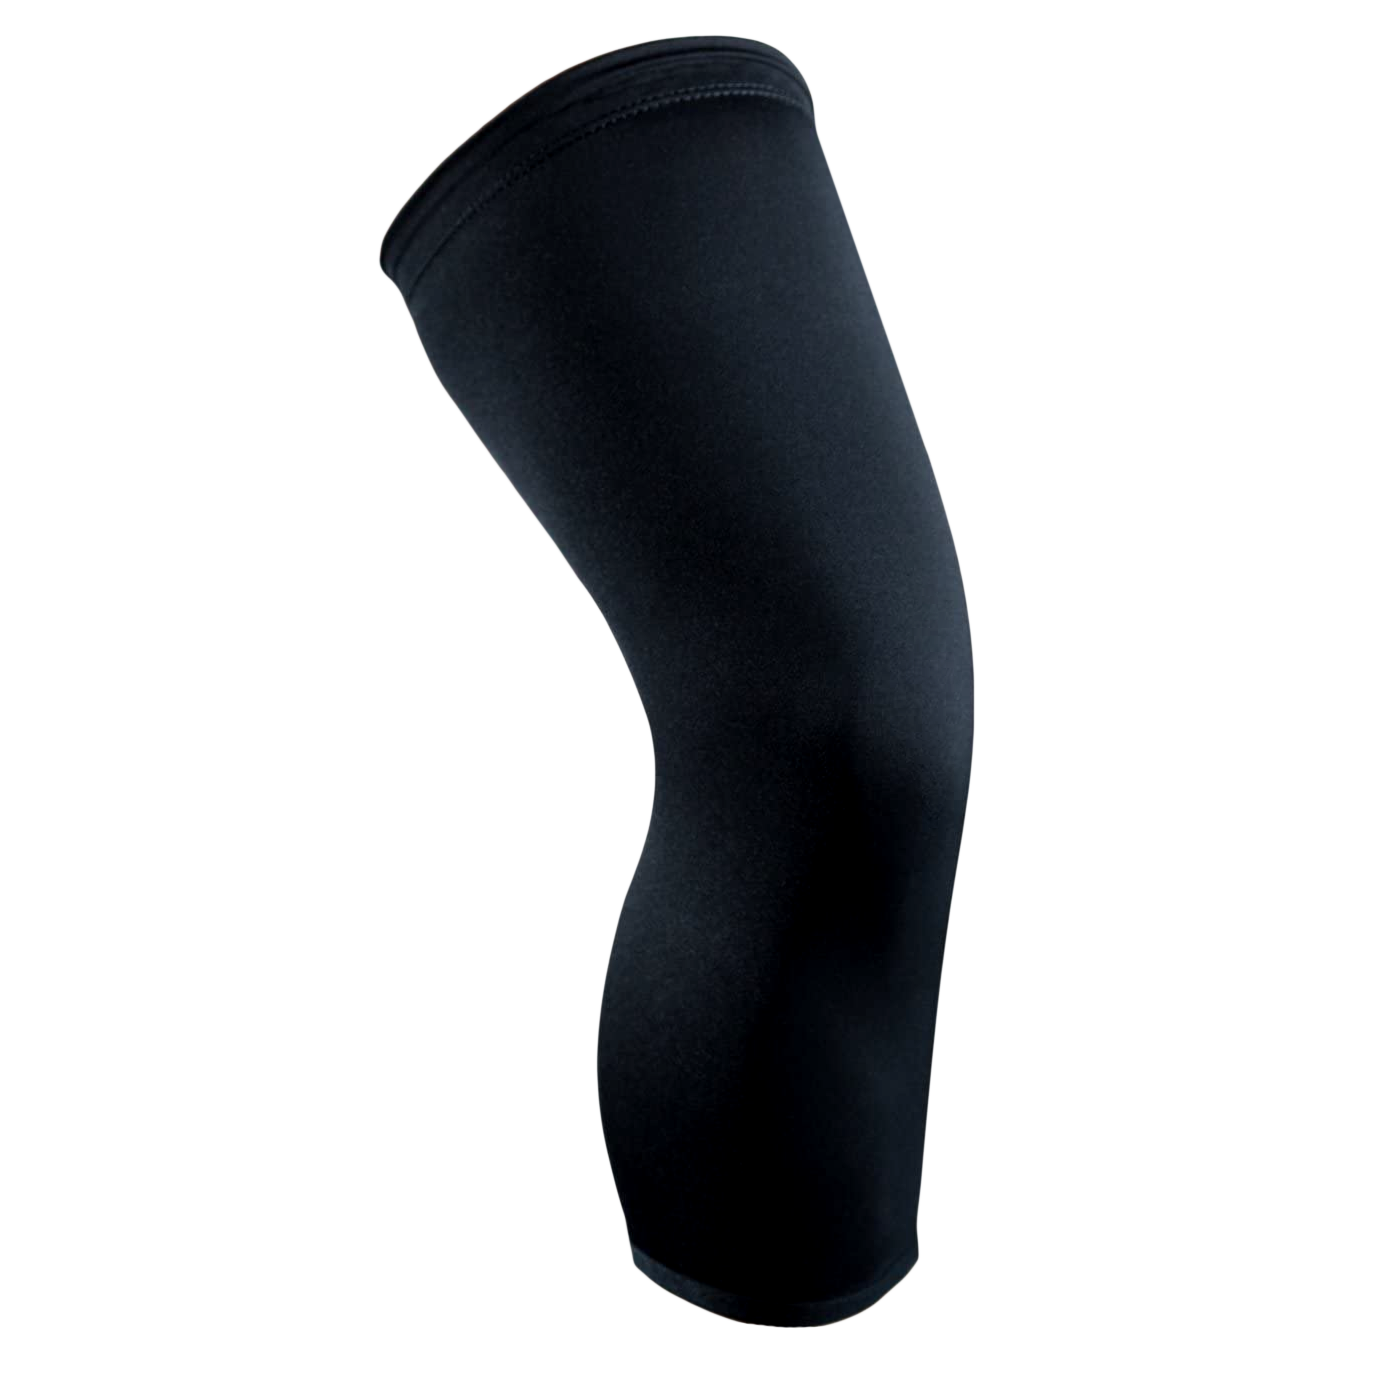
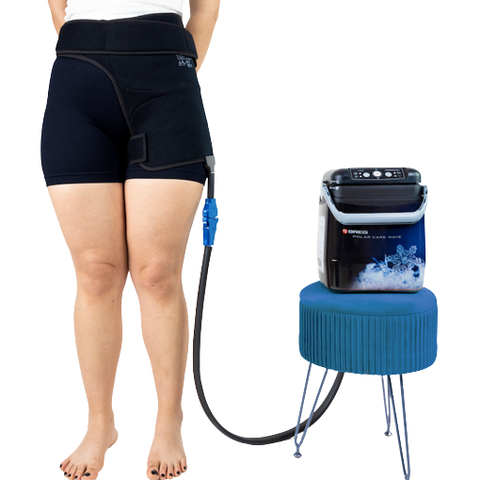
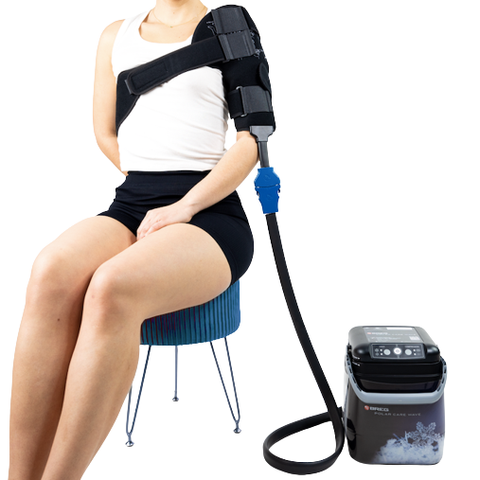
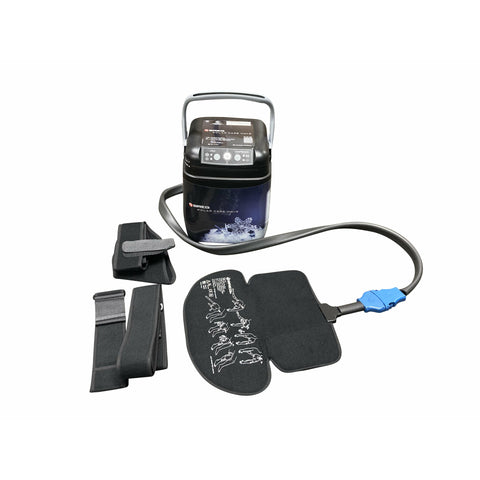
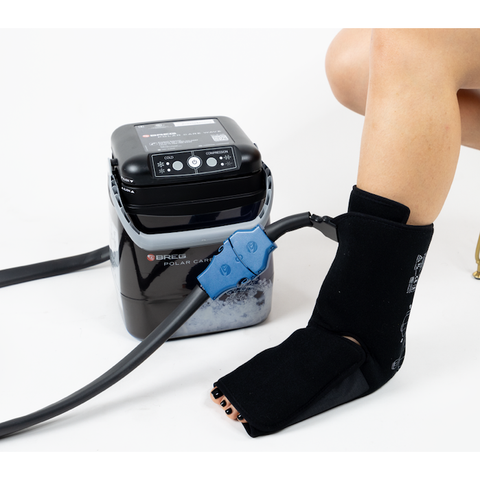
Apply the appropriate pad with the brag logo and instructions facing out away from the injury site. Use the straps to secure the pad in place. Pad applications. Instructions are also printed on the pad to connect the pad to the unit line up the BR logos on the tubing and pad connectors and push the connectors together until they click to disconnect the pad from the unit, press the blue clips and gently pull the connectors apart. The pad may be disconnected from the unit while it's running and the connectors will seal preventing water from flowing out of the tubing. Some dripping during release is normal. If you are hooking up two knee pads to the same container, you will need the knee Y adapter accessory, which is sold separately. Please note the knee. Y adapter is designed to be used with brag, knee cold compression pads only
Plug the power supply into the wall and the other end of the cord into the lid. The key pad lights on the front of the lid will flash quickly to show. There is power to operate the unit, press the on off button to turn the unit on the button will light up. The unit will start on the colder temperature and regular compression therapy settings to change cold settings, press the cold button to cycle between colder, cold and off press. Once more to return to the colder setting, to change the compression settings, press the compression button to cycle between regular low and off press. Once more to return to the regular setting, to turn the unit off, press the on off button. All the lights will turn off cold and compression therapies may be used at the same time or independently. If the on off button is on and both therapies are off for more than 15 minutes, the unit will automatically shut off.
If the on off button continuously flashes refer to the troubleshooting section of the wave instructions booklet. If you notice there is water leaking from any part of the unit pad or connection beyond normal dripping associated with disconnecting the pad unit or condensation, please stop using the unit and contact your local bread sales representative or BR customer care at 1 808 9 7 B R E G. Some condensation on the tube and pad is possible, especially in warmer climates, wrapping material loosely over the pad and tubing to minimize air exposure can help reduce condensation. Be sure to inspect the skin under the entire pad as prescribed by the healthcare professional. Typically every one to two hours during use discontinue use and contact the physician. If your patient experiences any adverse reactions such as increased pain, burning, increased swelling, itching, blisters, increased redness, discoloration, welts, irritation, other changes in skin appearance, or any other reactions that have been discussed with the healthcare professional to clean the exterior surfaces apply mild soap and water to a soft cloth to wipe down the container lid, tubing, cold compression pad and Y adapter. If using this accessory to clean the internal components, the pump system, internal tubing inside of the pad and Y adapter connect the pad to the unit, fill the container with cold tap water to the ice fill line and mix in one half teaspoon of bleach, do not add ice, put lid on container and lock it. Plug in the power cord,
Turn on unit and turn off compression setting. Run the cold therapy for at least 10 minutes. After 10 minutes, turn the unit off and unplug unit from the wall. Roll the pad while still connected to the unit. To squeeze the water back into the container, then empty the container to store the unit. First, turn the unit off, remove water from the pad by rolling the pad up while it is still connected and squeezing the water back into the container, then disconnect the pad from the unit, pour out the water from the container and wipe dry. Lastly, coil the tubing using the hose management straps.